
Hello Runners,
A bit lost with the Color Tool? 🤔 Don't worry! Here's a handy tutorial to help you create your perfect custom skin. 🎨🚛
The Color Tool lets you create custom skins for your trucks.
Currently, it's available for a single color in the Mack Dual Pack (DLC14.5_2). A tricolor Color Tool will be added in the next update (DLC15).
1) Basics 🛠️
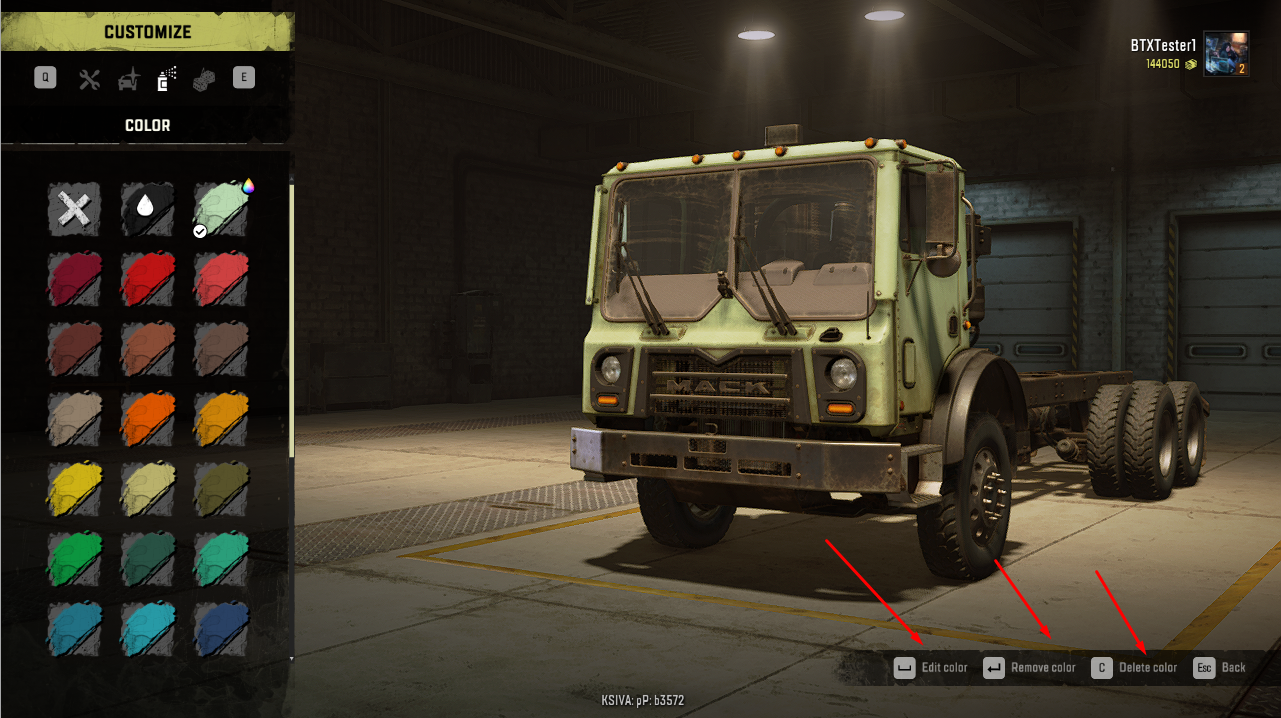
🖌️ You can find the Color Tool in 'Customize' menu> 'Color' tab:
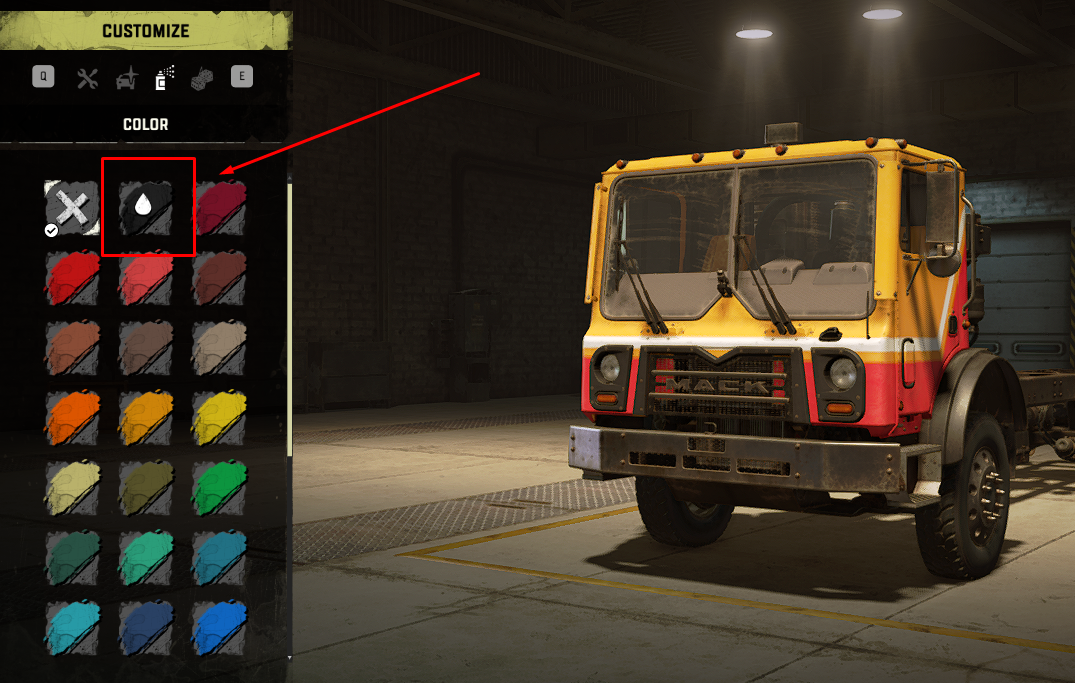
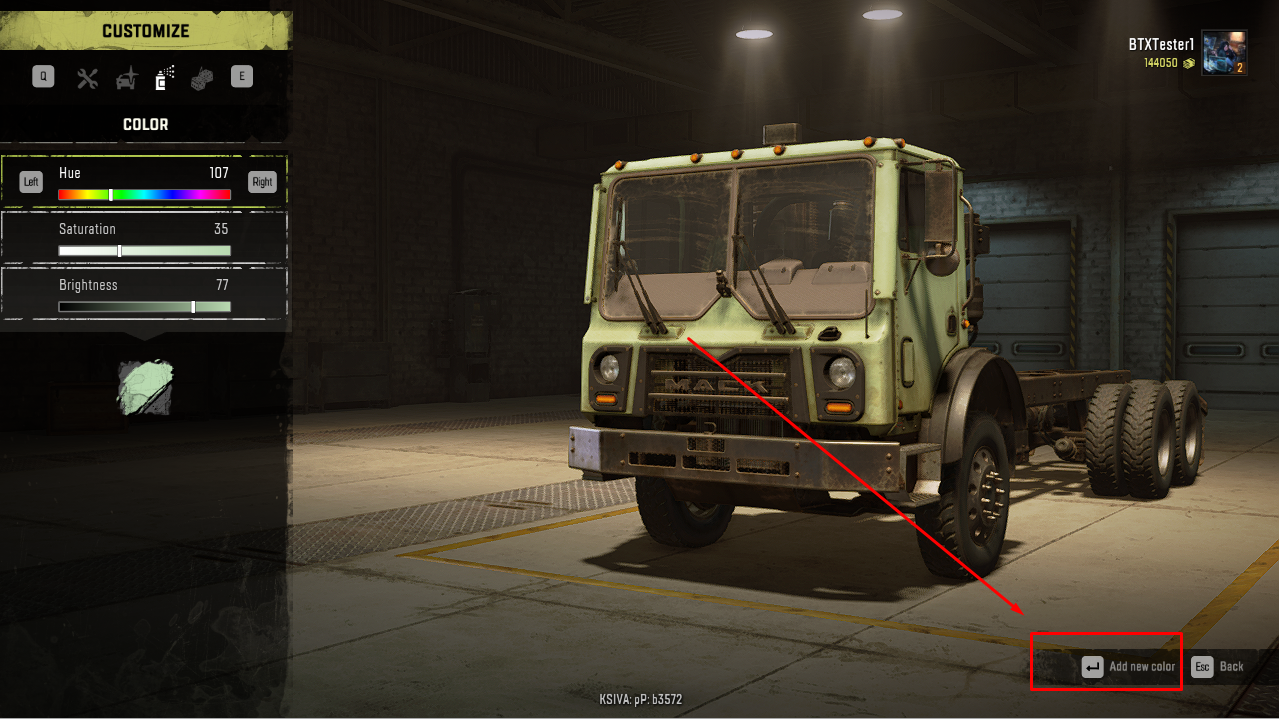
🎨 To open the menu, select a color cell and press ‘Add New Color’ in the lower-right panel:
Inside the menu, you can adjust:
🔹 Hue
🔹 Saturation
🔹 Brightness
Controls:
🎮 Gamepad: D-pad (⬆⬇ scroll, ⬅➡ adjust sliders)
⌨ Keyboard: Arrows (⬆⬇ scroll, ⬅➡ adjust sliders)
🖱 Mouse: Click & drag the slider
The preview color is displayed at the bottom and directly on the truck.
Once satisfied, press ‘Add New Color’ to save your custom skin. ✅
⚠️ Note: Exiting theColor Tool without saving will discard your changes!
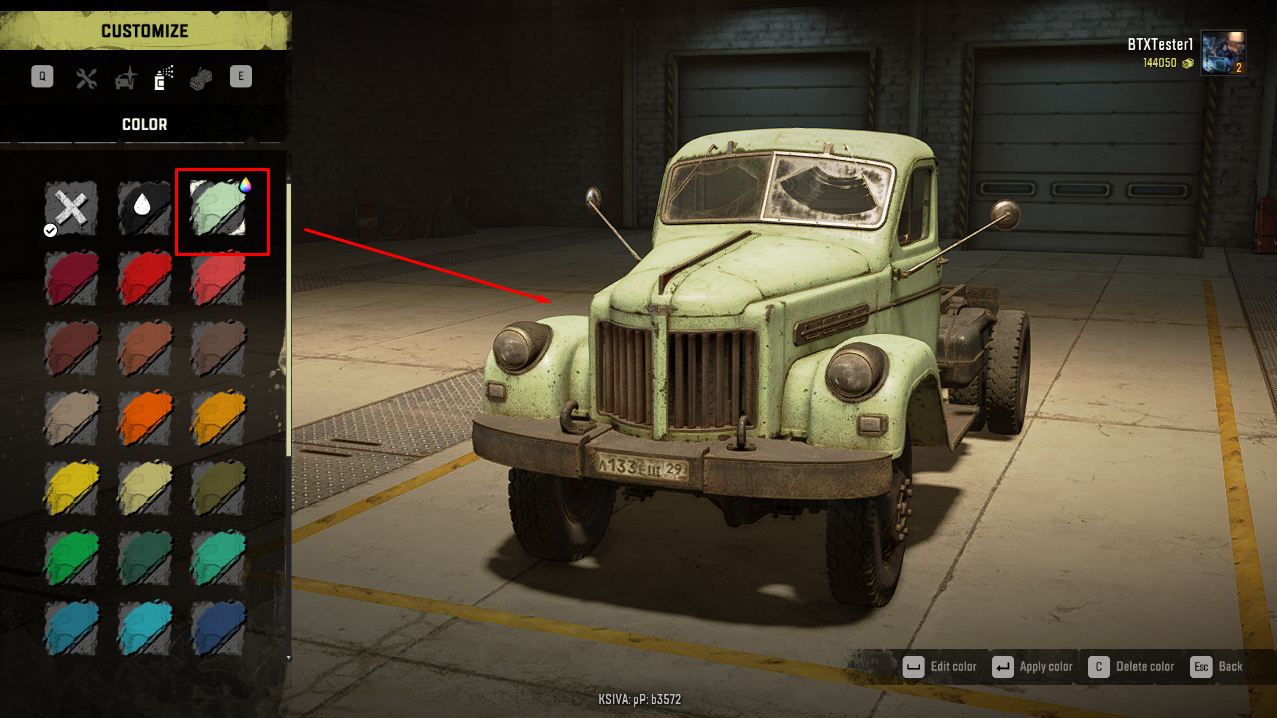
Your saved skins appear right after the Color Tool, marked with a colored drop icon, and can be applied to any truck. 🚛
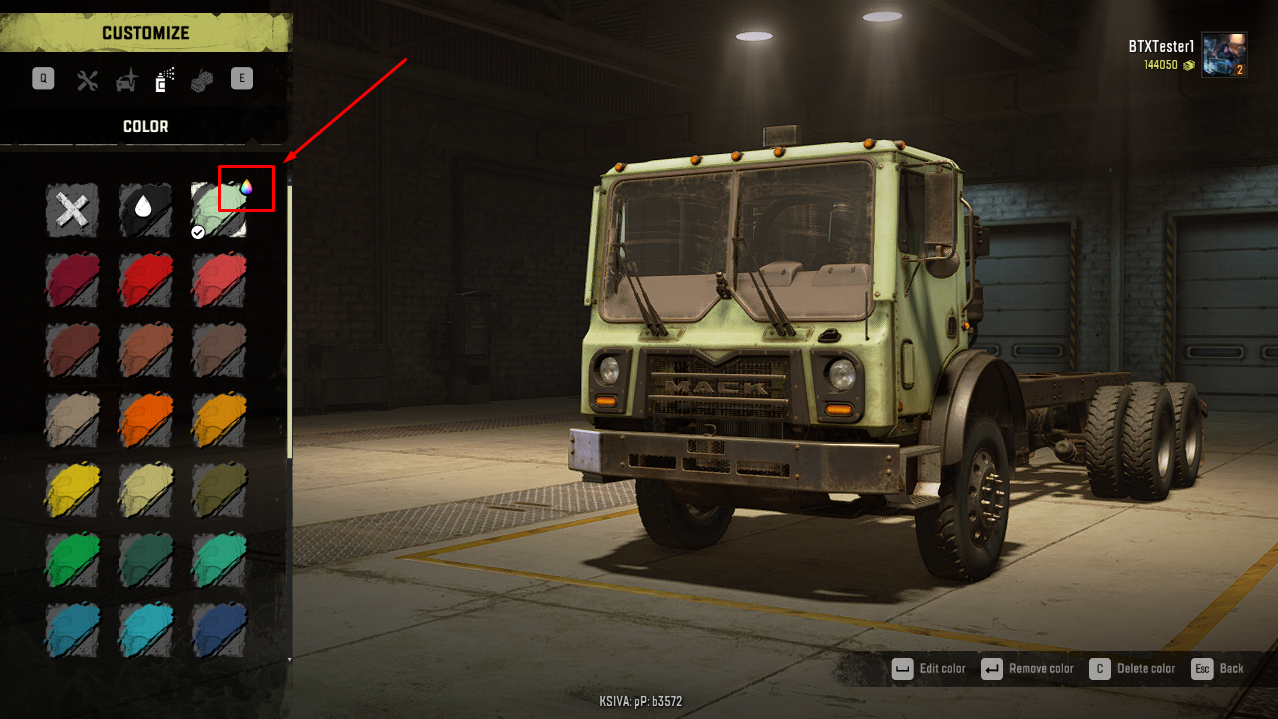
You can edit, remove, or delete custom skins anytime via the lower-right panel. 🛠️
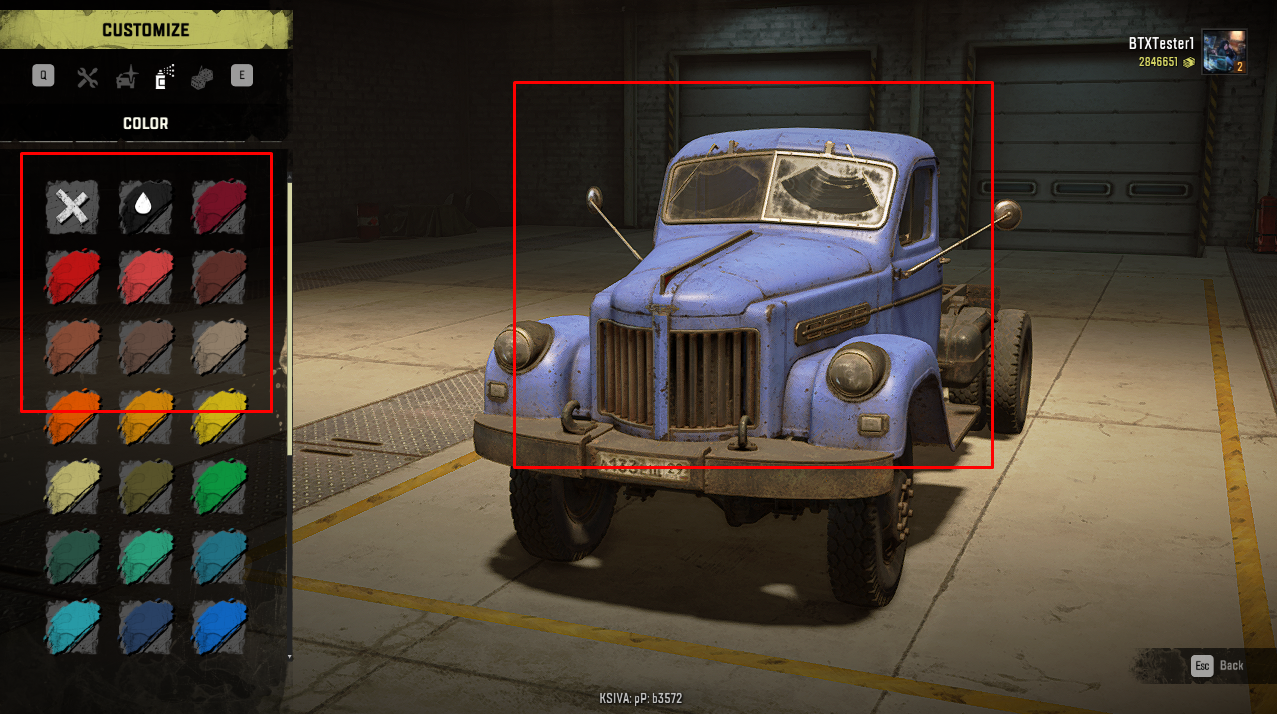
2) Editing a color ✏️
⚠️ Remember: Press ‘Apply Color’ after editing to save changes.
Edits only affect the current truck, while other trucks keep the original color. This is by design.
📌 Before edit:
📌 After edit:

3) Removing a skin 🗑️
Custom skins remain on all trucks unless replaced manually.
📌 Before deletion:

📌 After deletion:
We can't wait to see your custom creations on the road! 🚛
Share your best designs with us!


